Embedded Programming
Assignment
Read a Microcontroller Data SheetProgram your board to do something
Learning Outcomes
Identify Relevant Information in a Microcontroller Data SheetImplement Programming Protocols
Reading a Microcontroller Data Sheet
The data sheet I looked at was the one provided from Atmel about their ATtiny24A, ATtiny44A, and ATtiny84A microcontrollers. This document can be found here: Data Sheet. Reading this data sheet has an overwhelming amount of infomation about these chips, more information than I would ever need about a microcontroller. However, it did contain some good information about how each microcontroller's pins is set up. I will be honest, I don't think I really read past the fourth section of the document as I found it boring and not really information I needed to learn about.Programming the Board
As this is really my first time programming any type of electronics, I decided to use the program Arduino IDE. I chose this program after reading past students blogs and talking with the local students here in Alaska. It was a pretty simple program to pick up and had really good examples to go off of. My first attempt I tried to program my board, built from week 6, using the USBtinyISP. Before doing this I had to download the correct drivers so that my computer would recognize the USBtiny ISP. These drivers can be found here: USBtinyISP Drivers. Once the drivers were installed I was ready to hook everything up. This is shown in Figure 1.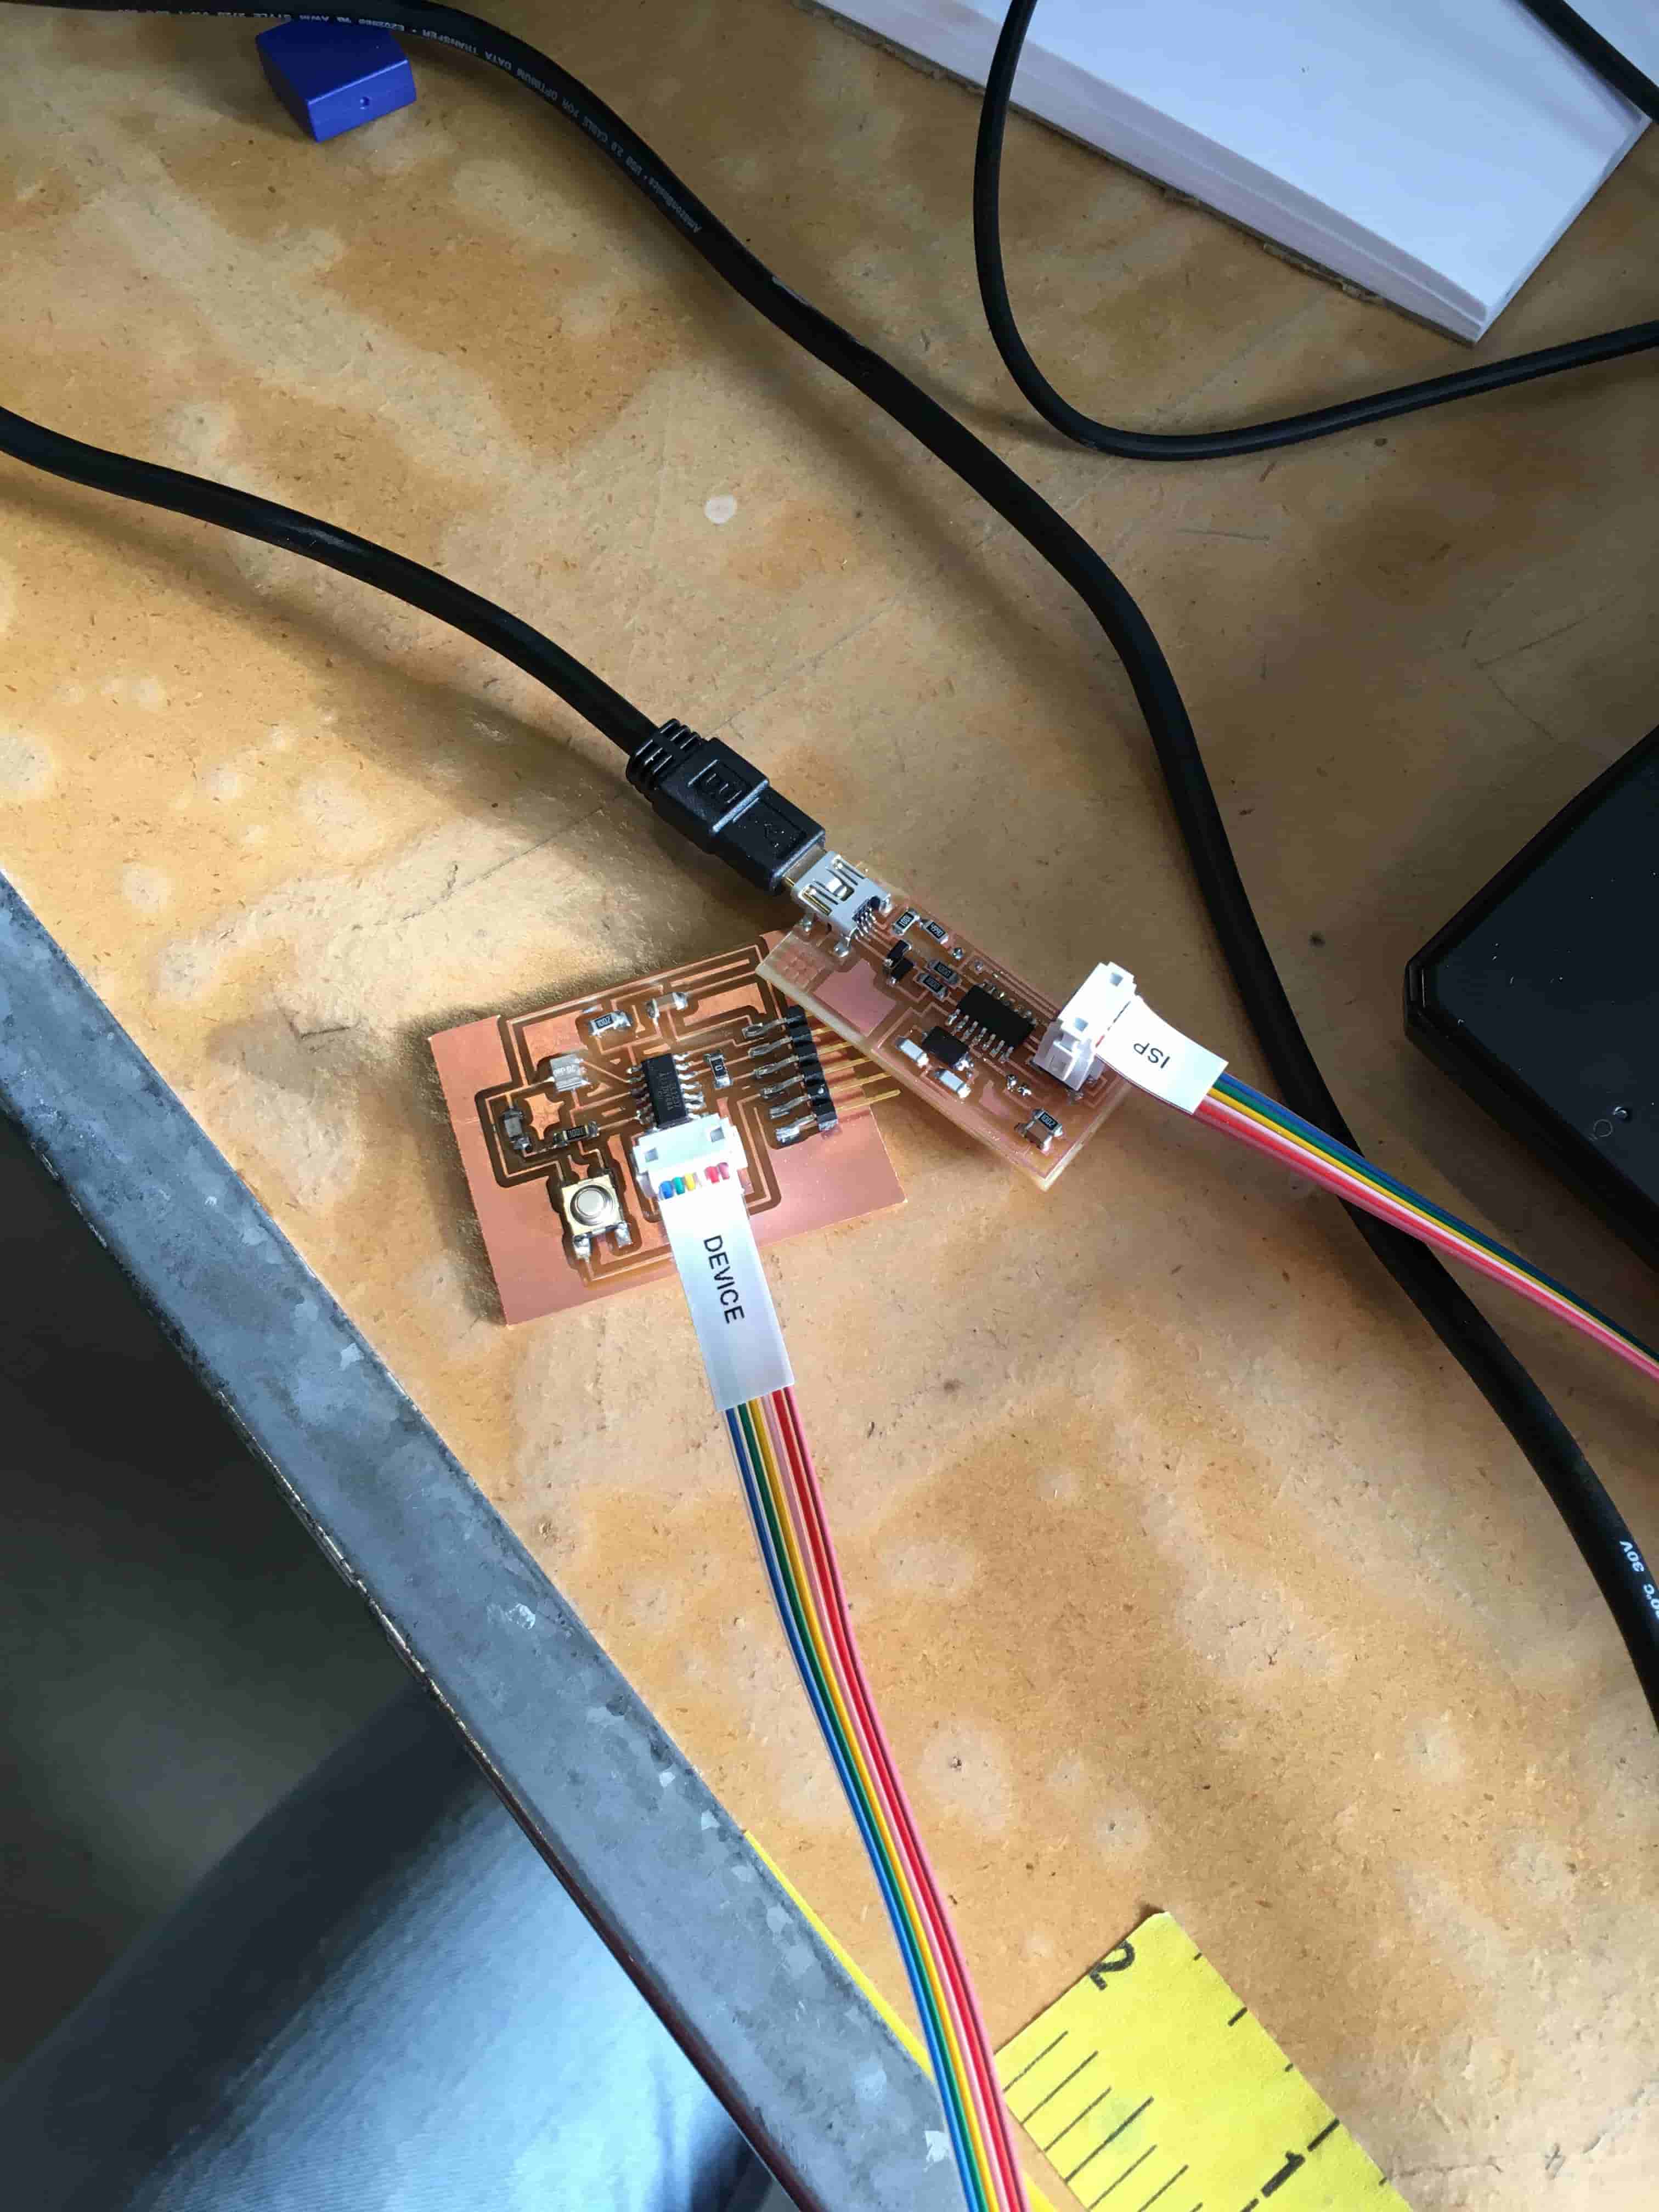
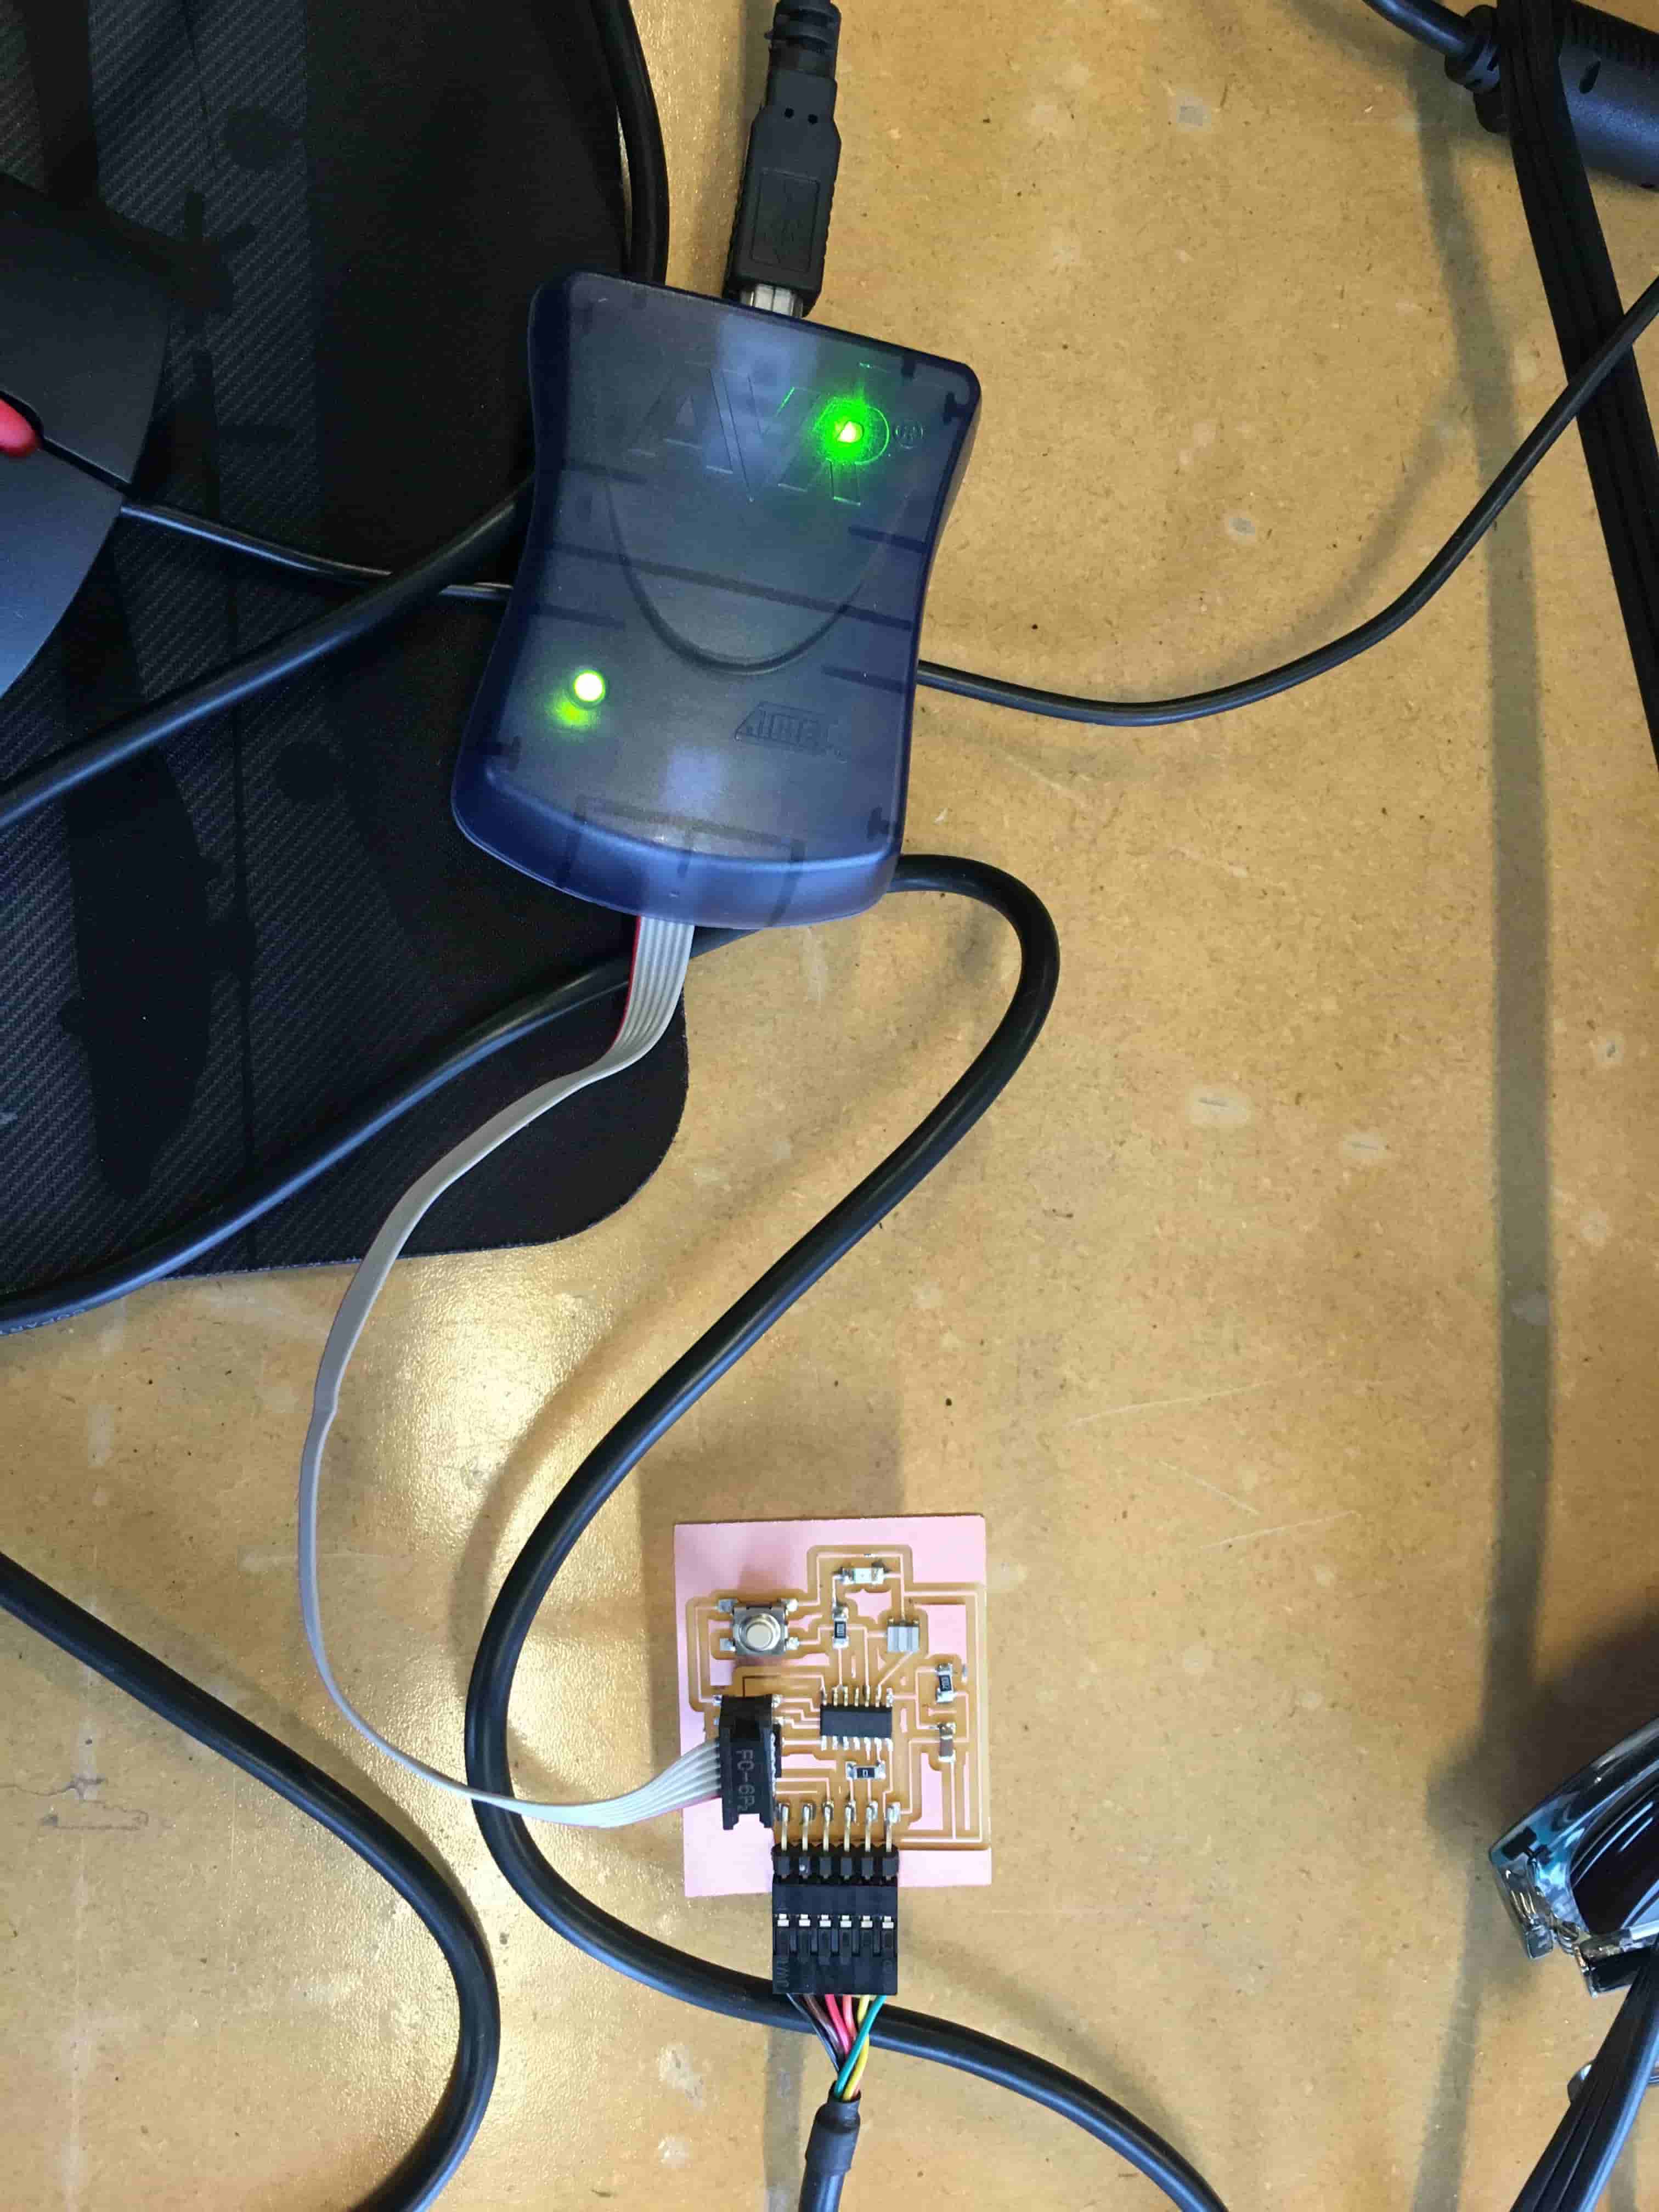
I tried to upload the simple blink code as provided by Arduino IDE to make sure my board was working properly. However, after uploading the LED was not on. I then decided to try and program my board using the AVR instead of the USBtinyISP. Again I had to download the correct drivers for my computer and they can be found here: AVR Drivers. Figure 2 shows my board hooked up to the AVR. After this was complete, I uploaded the simple blink program to the board and the LED was still not blinking. It was now time to troubleshoot because clearly there was something wrong with my board.
Troubleshooting
Talking with some friends at school who knew a bit about programming with Arduino they thought I had the LED backwards. Sure enough, looking at my board and the Eagle Schematic, I had definitely turned the LED around. After removing the old LED, I placed a new LED oriented correctly and hooked it up to the AVR for programming. Once the upload was done the LED was blinking! This is shown in the video below.If video does not play in current browser, please play it here: Blink Video.
Programming Button
Now that I knew the LED was programmed correctly, it was time to program the button to control the LED. Following the Arduino example with a button I changed the pin locations to match the ATtiny44A pin locations within the code and uploaded the program. However after uploading the program, the button would not control the LED. It was time to troubleshoot again! YAY!......Troubleshooting
The first thing I decided to look at was the Eagle Schematic to make sure everything was connected right. After looking at the schematic, Steven Fett noticed that the button was going to too many components. Somehow a Net was added to where the resonator was connected to two pads of the button. This was not right. After changing this, I needed to mill out and stuff a new board. Following the Week 6 guidelines I redesigned the new board layout with the button connected to the correct components. The new board is shown in Figure 3.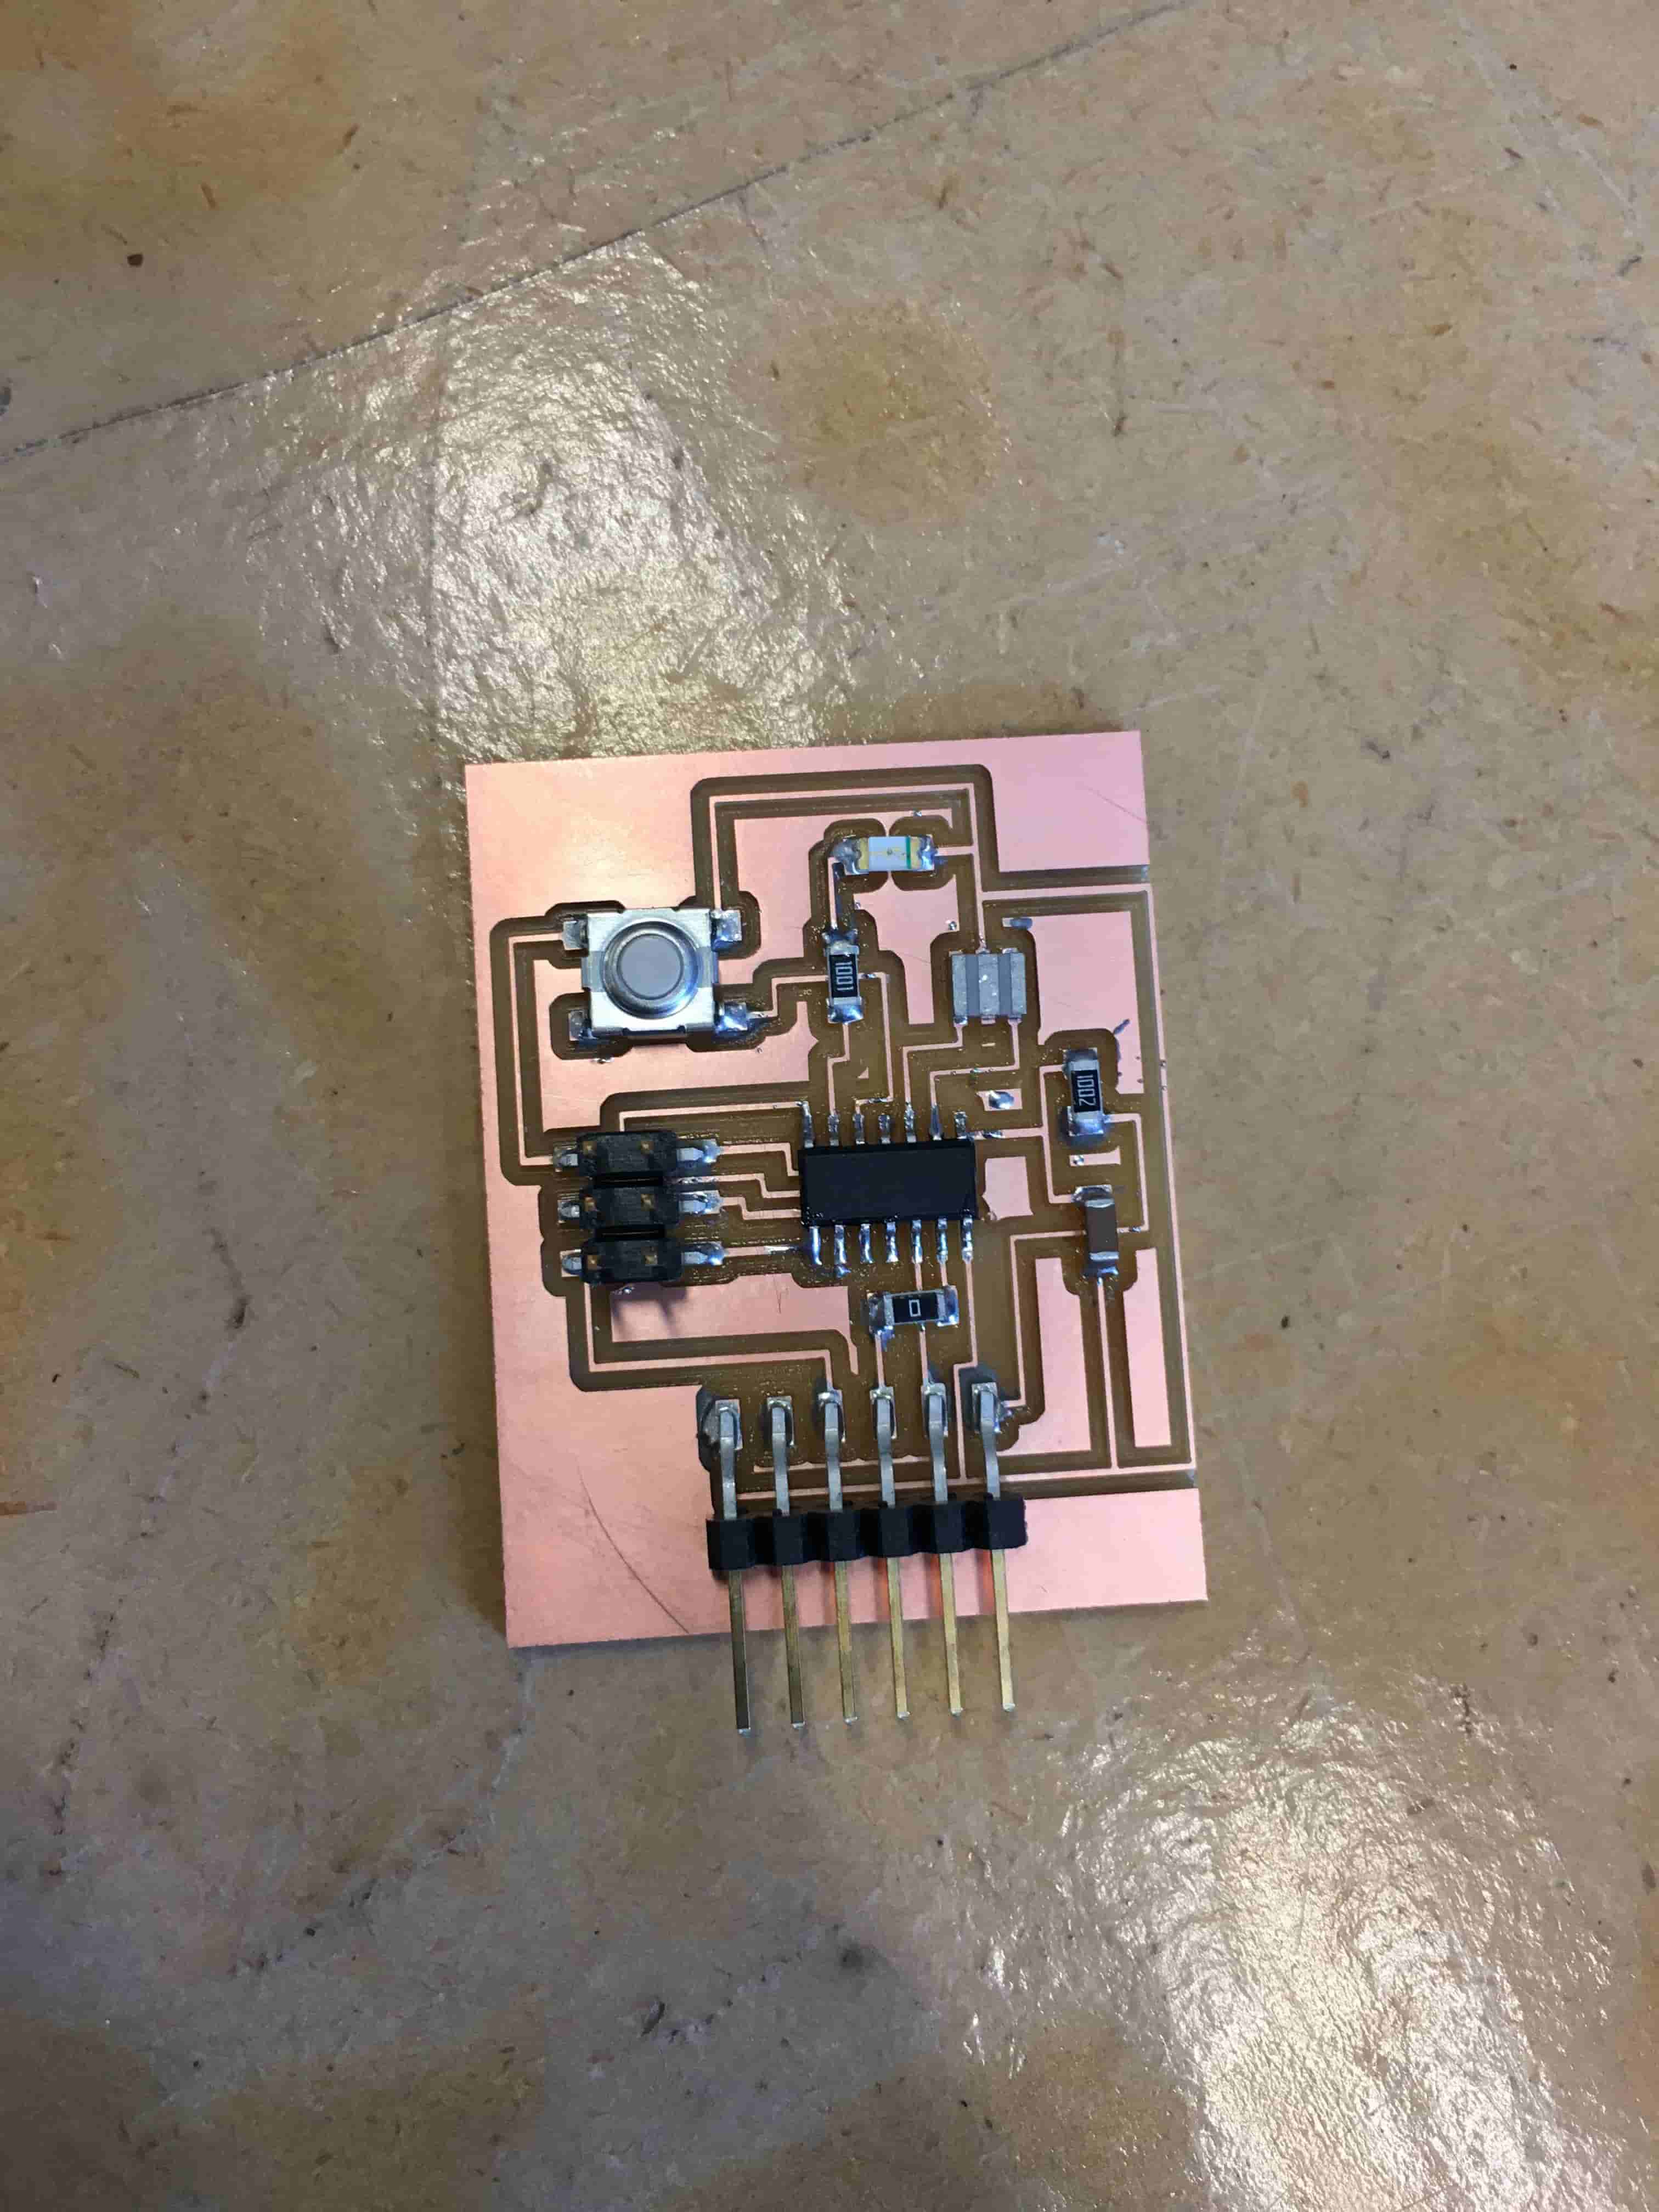
I ran the simple blink code to make sure it was working properly, but the program could not be uploaded. So it was time to try and troubleshoot my first board since I knew it could accept a program. I first took a knife and cut the incorrect connection to the button. This however did not fix the problem. Again with the help of Steven Fett, he noticed one of the pads on the button wasn't hooked up to any one of the pins on the ATtiny44A microcontroller. We then took a wire and jumped the button to the correct pin. After this was done, I uploaded the program and it was now working! This is shown in the video below.
As you can see from the video, each time I push the button the LED blinks 3 times and any other time the LED is always on.
Project Files
Simple Blink CodeButton Code